How To Get a Green Screen Effect In Photoshop
The video demo below will show you how you can use the “Blend-If” layer blending mode option to chromakey out ranges of color from a video file in the video timeline. This is the closest Photoshop currently comes to having a “green screen” effect (as of 2016) on moving videos.
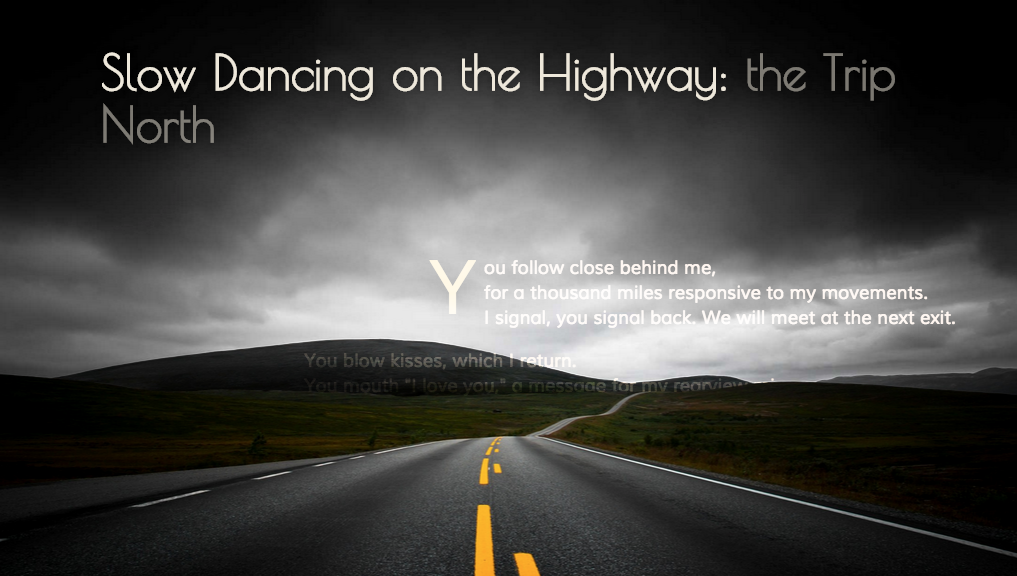
Illustrated Poem Demo (Images & Positioning)
To follow along with the demo in playlist video series below, you will want to download a starter image file:
Click to open image in new tab; then right-click it to save to your computer.
This playlist is not complete yet but will be updated soon. It currently takes you through the first 8 steps of the demo project.
Photoshop : Creating 3D Objects and Environments
Intro to Three Dimensional Space
Three dimensional (3D) space is what we experience on a daily basis in real life. Unlike two-dimensional (2D) photographs and drawings on a flat picture plane, three dimensional space occupies a third dimension of depth. Both 2D and 3D space utilize the x-axis (horizontal plane) and the y-axis (vertical plane), but only 3D space utilizes the x-axis (depth plane).
When using perfect geometry, these three planes can be viewed in separate, flat 2D views referred to as “orthographic” or “orthogonal” views. For instance, a 3D object can have a top, bottom, left, right, front, and back view that give us an idea how something will look from specific angles. It is common for 3D software to provide both interactive (3D and orthographic 2D) views of the objects in the 3D space so that the designer can better visualize what s/he is working with.
Basic Photoshop 3D Tools
3D Workspace
First, when you use 3D tools in Photoshop, it is extremely beneficial to switch to the 3D Workspace. To do so, go to Window > Workspace >3D. This will give you access to all of the panels that you will frequently need while modifying your objects.
Layers Panel
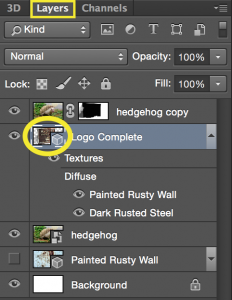
The Layers panel will still be available, and other options in some panels will change depending on which layer you have selected. Once you have changed a layer’s contents into a 3D mesh or extrusion, you will see a little cube shape appear in the layer’s thumbnail.
3D Panel
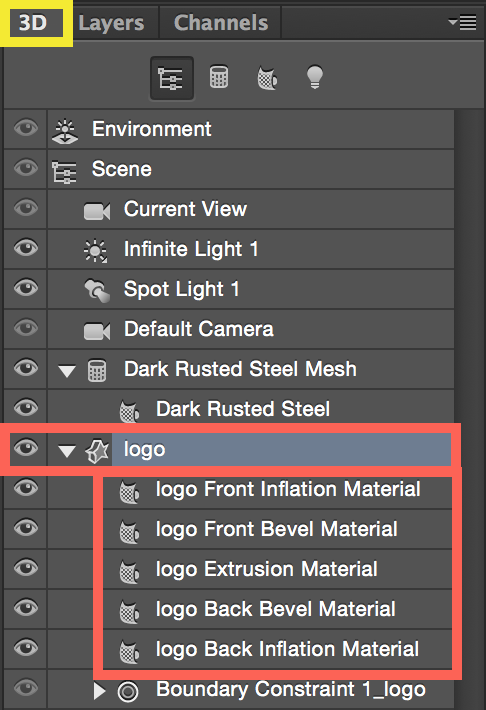
The 3D Panel is crucial in working with 3D objects in Photoshop. In this screenshot example, a 3D extrusion called “logo” is selected so that it can be manipulated. Notice that the “logo” is made up of materials, or meshes, in the drop-down menu below. These extrusion edges create the faces of the 3D object.
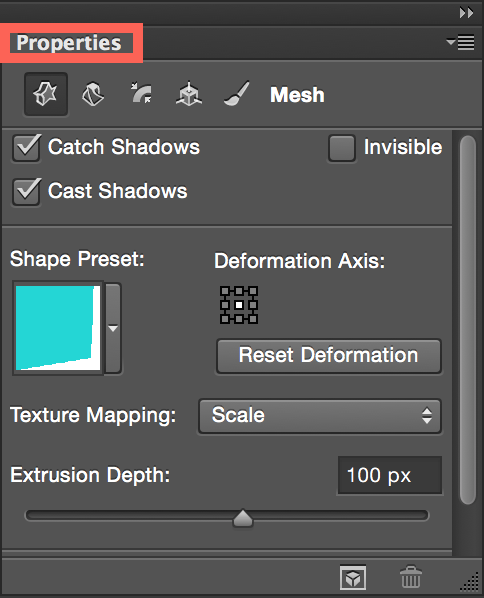
Properties Panel
The Properties Panel will make different properties available relative to the object that is currently selected in the 3D Panel. Depending on the object selected, you might see completely different property options appear in the Properties Panel. The example below is displaying properties based on the “logo” extrusion’s selection in the 3D Panel illustrated above.
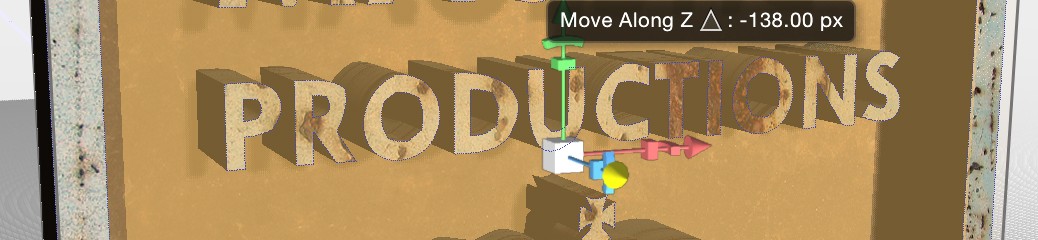
Moving 3D Objects in Photoshop
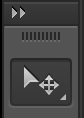
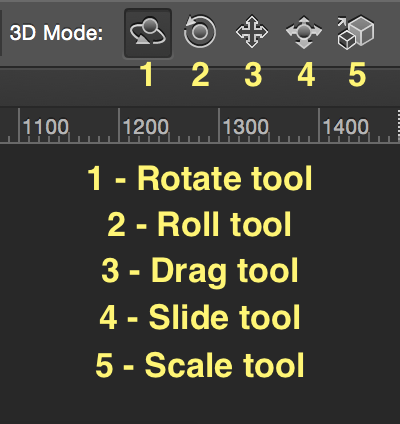
To move 3D objects in Photoshop, you need to first select the traditional Move Tool in the normal Tools Panel.
Once you have made that tool selection, you will see the tool options in the Options Panel change. If you have also selected a 3D object in the 3D Panel or in the Layers Panel, then the Move Tool’s options will also give you 3D Options. These 3D options are as follows: Rotate, Roll, Drag, Slide, and Scale. View the screenshot below to see what these tool icons look like.
To read more about Adobe’s 3D tools and space, you can read their Essential 3D Concepts page.
For a very quick overview tutorial using Photoshop’s 3D tools, you can watch a short tutorial on creating 3D models.
Instructor Tutorial
For a more in-depth tutorial on how to create a more complex scene, you will see how to do the following:
- Setting up the basic scene elements
- Creating 3D “Postcard” Mesh to use as a mapped material
- Creating 3D “Postcard” Mesh to use as an object in space
- Creating 3D extruded object
- Creating and mapping custom materials to objects
- Moving object to the ground plane
- Merging 3D objects
- Setting up different types of light sources
- Using move and scale tools to manipulate the scene
- Placing 3D objects into a photographic environment to look natural
- Rendering and output
Playlist of 6 videos (~67minutes total)
If you want to follow along, you can download the 3D Photoshop Demo Starter Files.
Protected: MAT-210 Project Music Clips
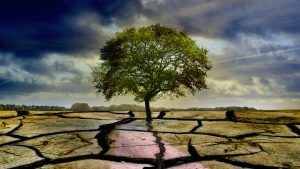
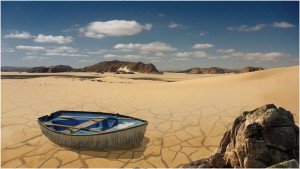
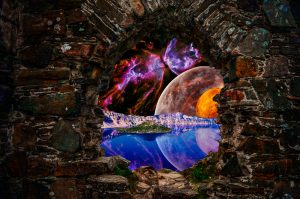
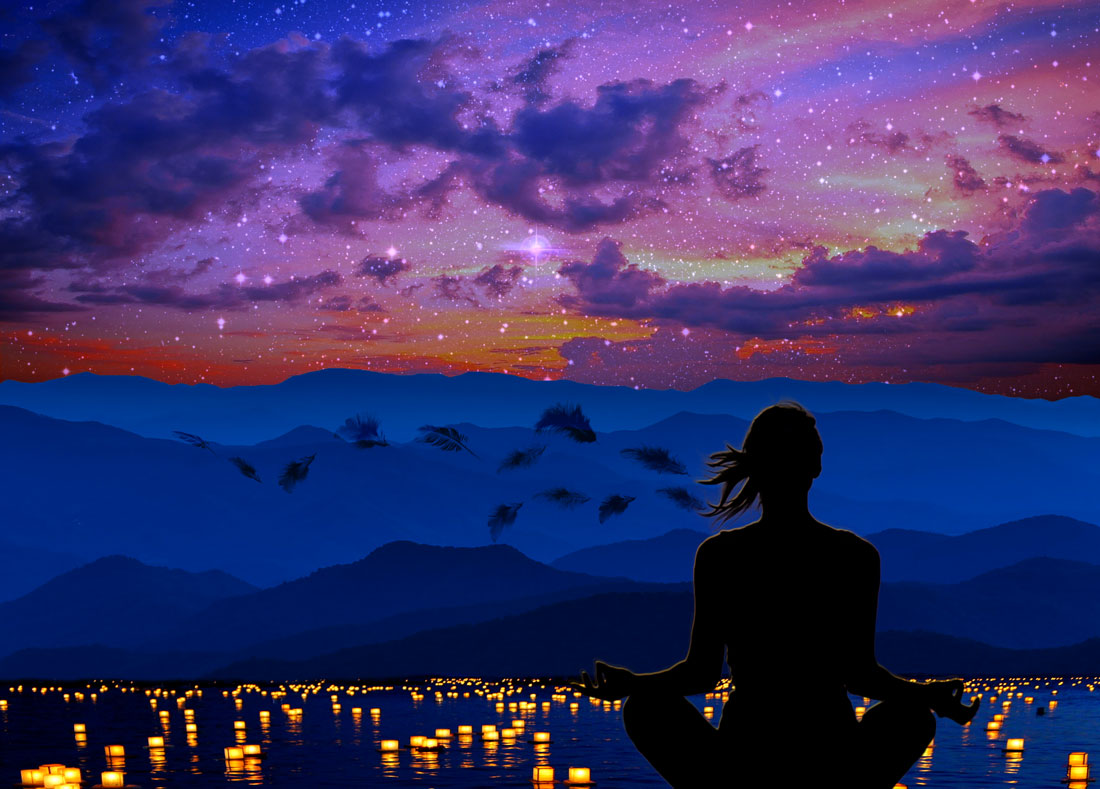
Conceptual Space Project – Sample Work
The following project required students to pick a conceptual word from a list and create a visual composition created from 5 -6 different image sources. The final image needed to express the feeling or meaning of the word and depict a “believable” space in terms of depth-of-field, although it could exist in a surreal environment.


Book Jacket Project – Sample Work

Photoshop – Brushes: Creating, Saving, Downloading
Working With Photoshop Brushes
Photoshop – Lesson 06: Masks and Channels
Working With Photoshop Masks and Channels
Select and Mask, Quick Masks, Puppet Warping, and Creating a Shadow from an Alpha Channel
This 4-part demo (playlist) will show you how to refine complex edges in masks using CC 2017 tools. This is a daunting task without this method! It follows the lessons in Chapter 6 of the Adobe Photoshop Classroom in a Book 2017 edition.Continue Reading: Photoshop – Lesson 06: Masks and Channels
Photoshop – Lesson 04: Layers
Working With Photoshop Layers
Photoshop – Lesson 03: Making Selections
Working With Photoshop Selection Tools
To follow along with the Lesson 3 from Photoshop CC 2017 : Classroom in a Book and learn some additional best practice tips NOT in the book, watch the following videos below. It is a playlist of five videos that cover using selection tools in Photoshop.
To view the above video in a larger screen size, start the video and click the YouTube icon.
- Video 1 – Smart Selection: ~20 minutes
- Video 2 – Marquee Selections: ~13 minutes
- Video 3 – Marquee and Magic Wand: ~ 6 minutes
- Video 4 – Lasso Tools: ~ 14 minutes
- Video 5 – Magnetic Lasso: ~ 21 minutes
TOTAL: ~1 hour and 15 minutes
Photoshop – Lesson 02: Image Adjustments
Photoshop Photo Adjustments / Basic Corrections
Photoshop image adjustments allow users to manipulate images in a variety of ways. The following 6-part video playlist will help you see how to make effective adjustments.Continue Reading: Photoshop – Lesson 02: Image Adjustments
Photoshop – Lesson 02: Understanding Resolution
The “Image Size” Box
The place where we deal with the different types of resolution are within the “Image Size” dialogue box. This video demo explains the difference between pixel dimensions and print resolution, and how they relate to one another.
Continue Reading: Photoshop – Lesson 02: Understanding Resolution
Photoshop – Lesson 01: Getting To Know the Work Area
Getting Started In Photoshop
Before we get into the nitty gritty of using Photoshop, let’s first learn about how to get around its interface. Click the playlist below to start the 3-video series in learning the PS the workspace.Continue Reading: Photoshop – Lesson 01: Getting To Know the Work Area
PHOTOSHOP – Making Image Navigation For the Web
The first demo video shows you how you can make navigational buttons in Photoshop using multiple layers in a single space. The second demo shows you how to create the same output files as in the first demo, but the second video uses “slices”.
BY THE WAY . . .. Even though in the video a talk about making “javascript rollovers,” these techniques are the same for making CSS hover buttons that use absolutely no javascript. So don’t let that throw you off!Continue Reading: PHOTOSHOP – Making Image Navigation For the Web
WEB – Image Preparation Lesson
To view the presentation, please download the PDF version of Web Image Preparation.
Primary Colors of Light and Pigment
How We See Color
The inner surfaces of your eyes contain photoreceptors—specialized cells that are sensitive to light and relay messages to your brain. There are two types of photoreceptors: cones (which are sensitive to color) and rods (which are more sensitive to intensity). You are able to “see” an object when light from the object enters your eyes and strikes these photoreceptors.Continue Reading: Primary Colors of Light and Pigment