Exercise 1A : Image Corrections and Repair in Photoshop
On This Page:
Due
- Date: Please check Blackboard’s “Due Dates”
Overview
For the first part of exercise-1, you will take download the original jpg file from this set of instructions and remove all scratches, cracks, splotches, and other blemishes to create a cleaned copy of the file.
This portion (1A) of Exercise-1 will be not be individually graded (you will continue on to Exercise-1B to complete the full Exercise-1), but you should email a flattened jpg version of 1A to the instructor when you have reached that benchmark. This will let the instructor know if you are off-track before continuing onto the final stages of the assignment. The deadline for this portion of the assignment can be found under the main course link called “Due Dates.” To create a “flattened” jpg, simply go to the “File > Save As” menu, and select the file format as a jpeg, and choose the highest quality setting when given the option. This will NOT overwrite your original PSD (Photoshop Document) file with separate effects and layers.
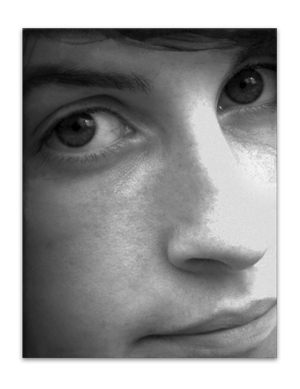
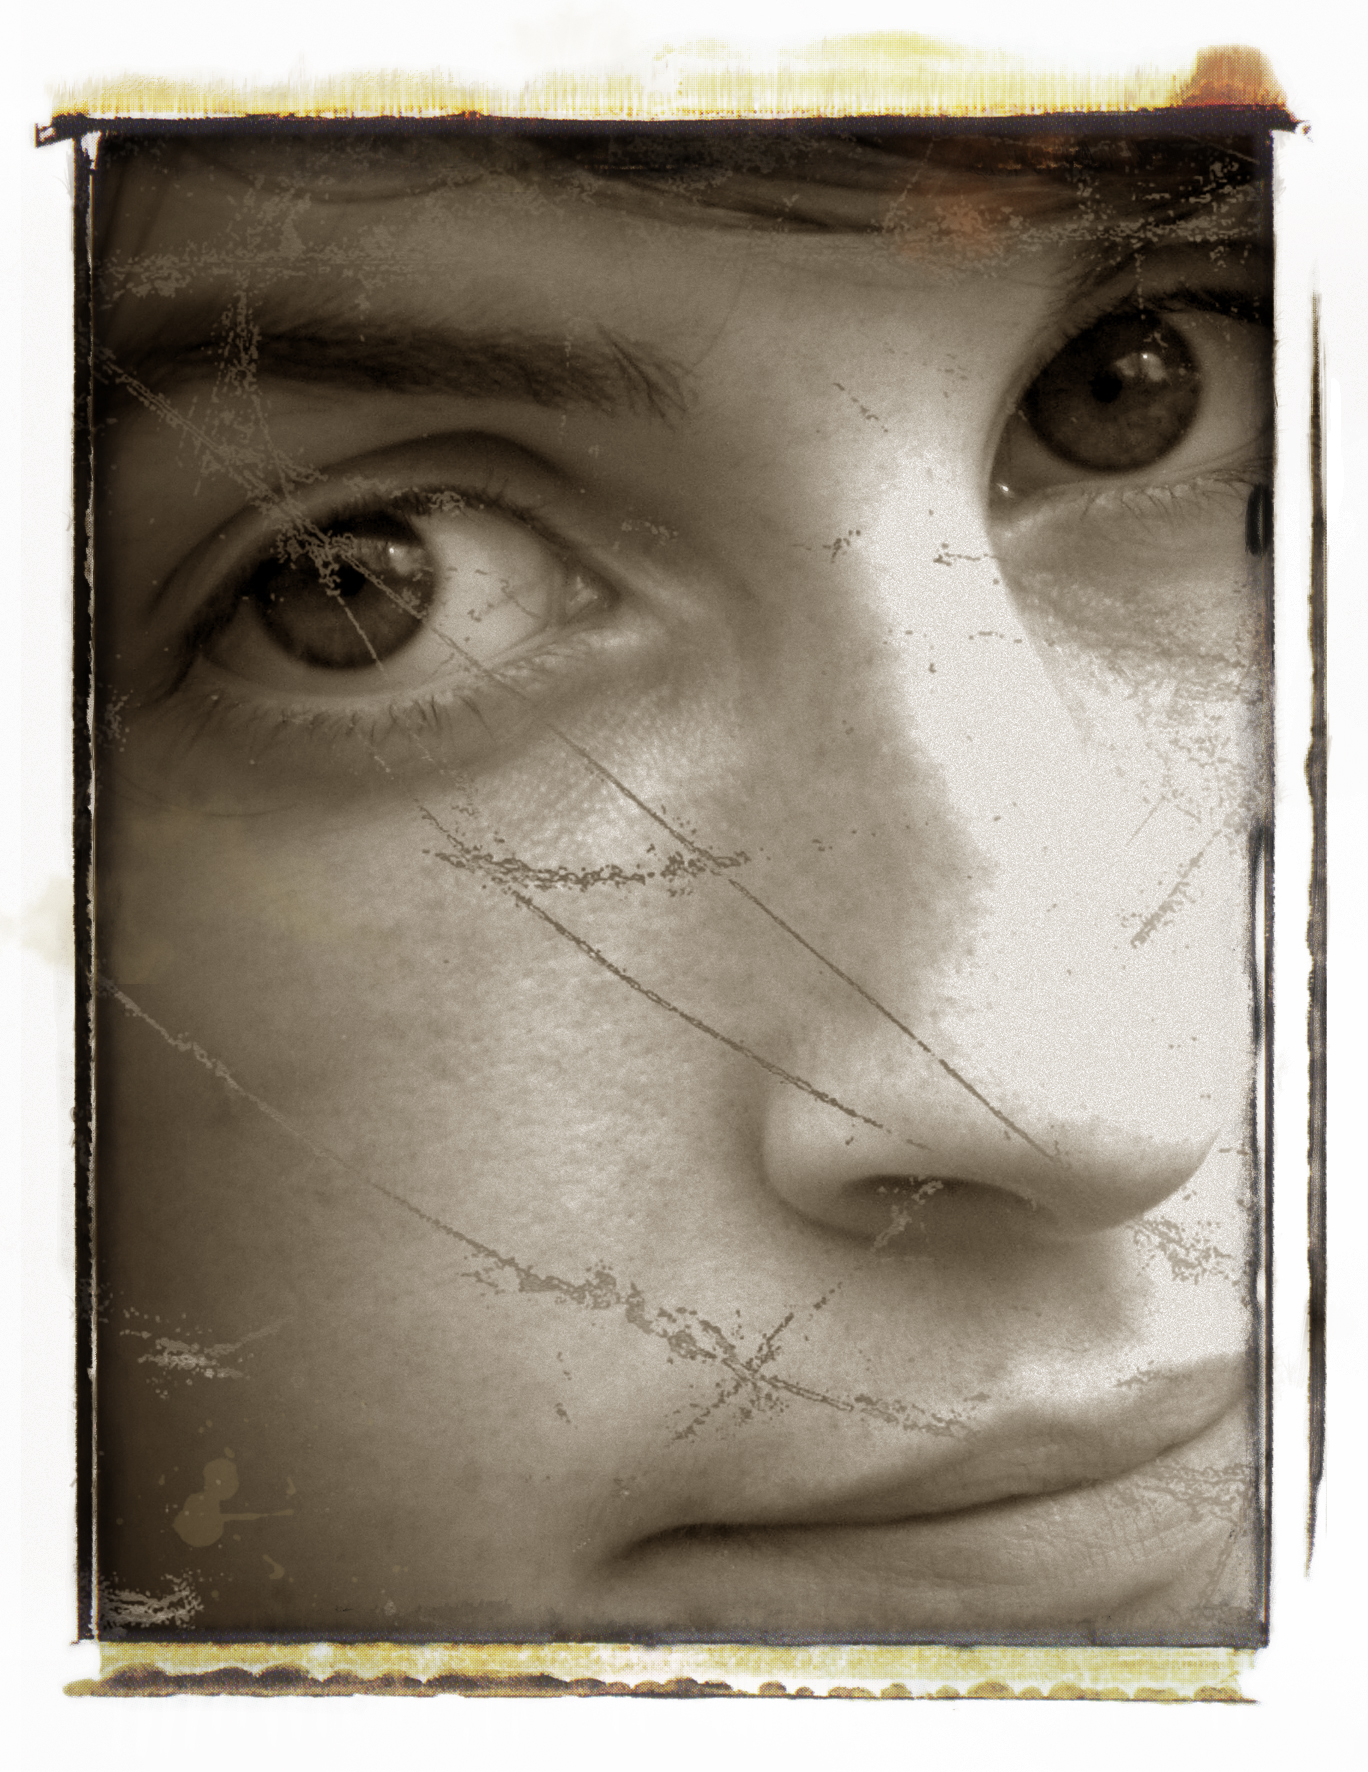
To see SMALL image examples for the original vs. a good finished copy, see the images below. Remember, these are much, much smaller copies, so do not attempt to use these files for this assignment. The quality will be too poor if they are enlarged to the original size of the download-able file. This assignment is challenging, but it will prepare you well moving into more complex tasks with Photoshop.
")
Example of 1A ORIGINAL DAMAGED (low res example)
Process
For the first part of exercise-1 (1A), you will take download the original jpg file from this set of instructions and remove all scratches, cracks, splotches, and other blemishes to create a cleaned copy of the file.
To make these adjustments, you need to use a combination of the following tools:
- Color Mode
- Levels Adjustment
- Healing brush
- Spot Healing tool
- Patch tool
- Clone tool
HINT: Because you will later be “colorizing” the image in Exercise-1B, you will likely have the best results in this phase of the assignment if you desaturate the image. The easiest way to do this is to change the color mode of the file from RGB to Grayscale. To do this, go to “Image > Mode > Grayscale.” Later in the next part of the exercise, you will need to convert the image back to RGB to add color.
Quality Expectations:
You are required to keep the original file pixel dimensions (1368 x 1772) and resolution (72ppi) for this assignment. DO NOT shrink the file’s pixel dimensions. I will also zoom into the files to look at details for grading purposes.
Turning It In:
To turn in this assignment, go to “Turn In Assignments > Turn In Exercise-1A Here” from the main BB menu. Check The main BB “Due Dates” schedule to make sure you meet the assignment deadline.
Need Help Getting Started?
This playlist of 4 tutorial videos walks you through an approach to successfully cleaning up this file. While it is not the only way you can do the assignment, it will help you when you are stuck figuring out how to go about dealing with trouble areas.
To jump to a new video, click the top left menu button with three horizontal bars.
Part 1 Covers:
- Using Spot Healing Brush with options
- Converting to grayscale
- Using Content Aware Fill
- Cleaning up long scratches with Spot Healing Brush
- Cleaning damage along edges to keep edge integrity
- Cleaning up right eye
- Rebuilding the eyebrows
- Cleaning up left cheek damage
Part 2 Covers:
- reparation of left eye area using combination of Spot HealingTool, Clone Tool, and Patch Tool.
- reparation of hairline (second pass)
- using Clone Tool with tiny brush to rebuild larger sections with pervasive damage
Part 3 Covers:
- left forehead area damage using Clone tool
- using Clone tool with opacity adjustments to recreate texture
- blending gradient area repairs
- fine adjustments cleaning hairline
- cleaning up left side and bottom of of face
- cleaning scratches above the lips
Part 4 Covers:
- the nostril area using the Spot Healing Brush and Patch Tool,
- the lower lip with Clone and Patch Tools
- the cheekbone grain/damage below the right eye using Blur and Dodge tools
- print damage on right side of image’s framing area
- print damage on lower edge of image’s framing area
- final sweep cleaning up hairline and chin