Exercise 2 : Compositing, Masking, and Making Shadows in Photoshop
On This Page:
Due
- Date: Please check Blackboard’s “Due Dates”
Overview
You will composite four downloaded images (download link below) to create a high resolution image that looks like the composite image below, reading, “got smoothie?” (NOTE: the image below is a tiny, low-resolution image for illustration purposes only). The challenges in this exercise are in using good masking techniques, applying adjustment layers, blend modes, filters, and mastering problems surrounding shadow creation.

Process
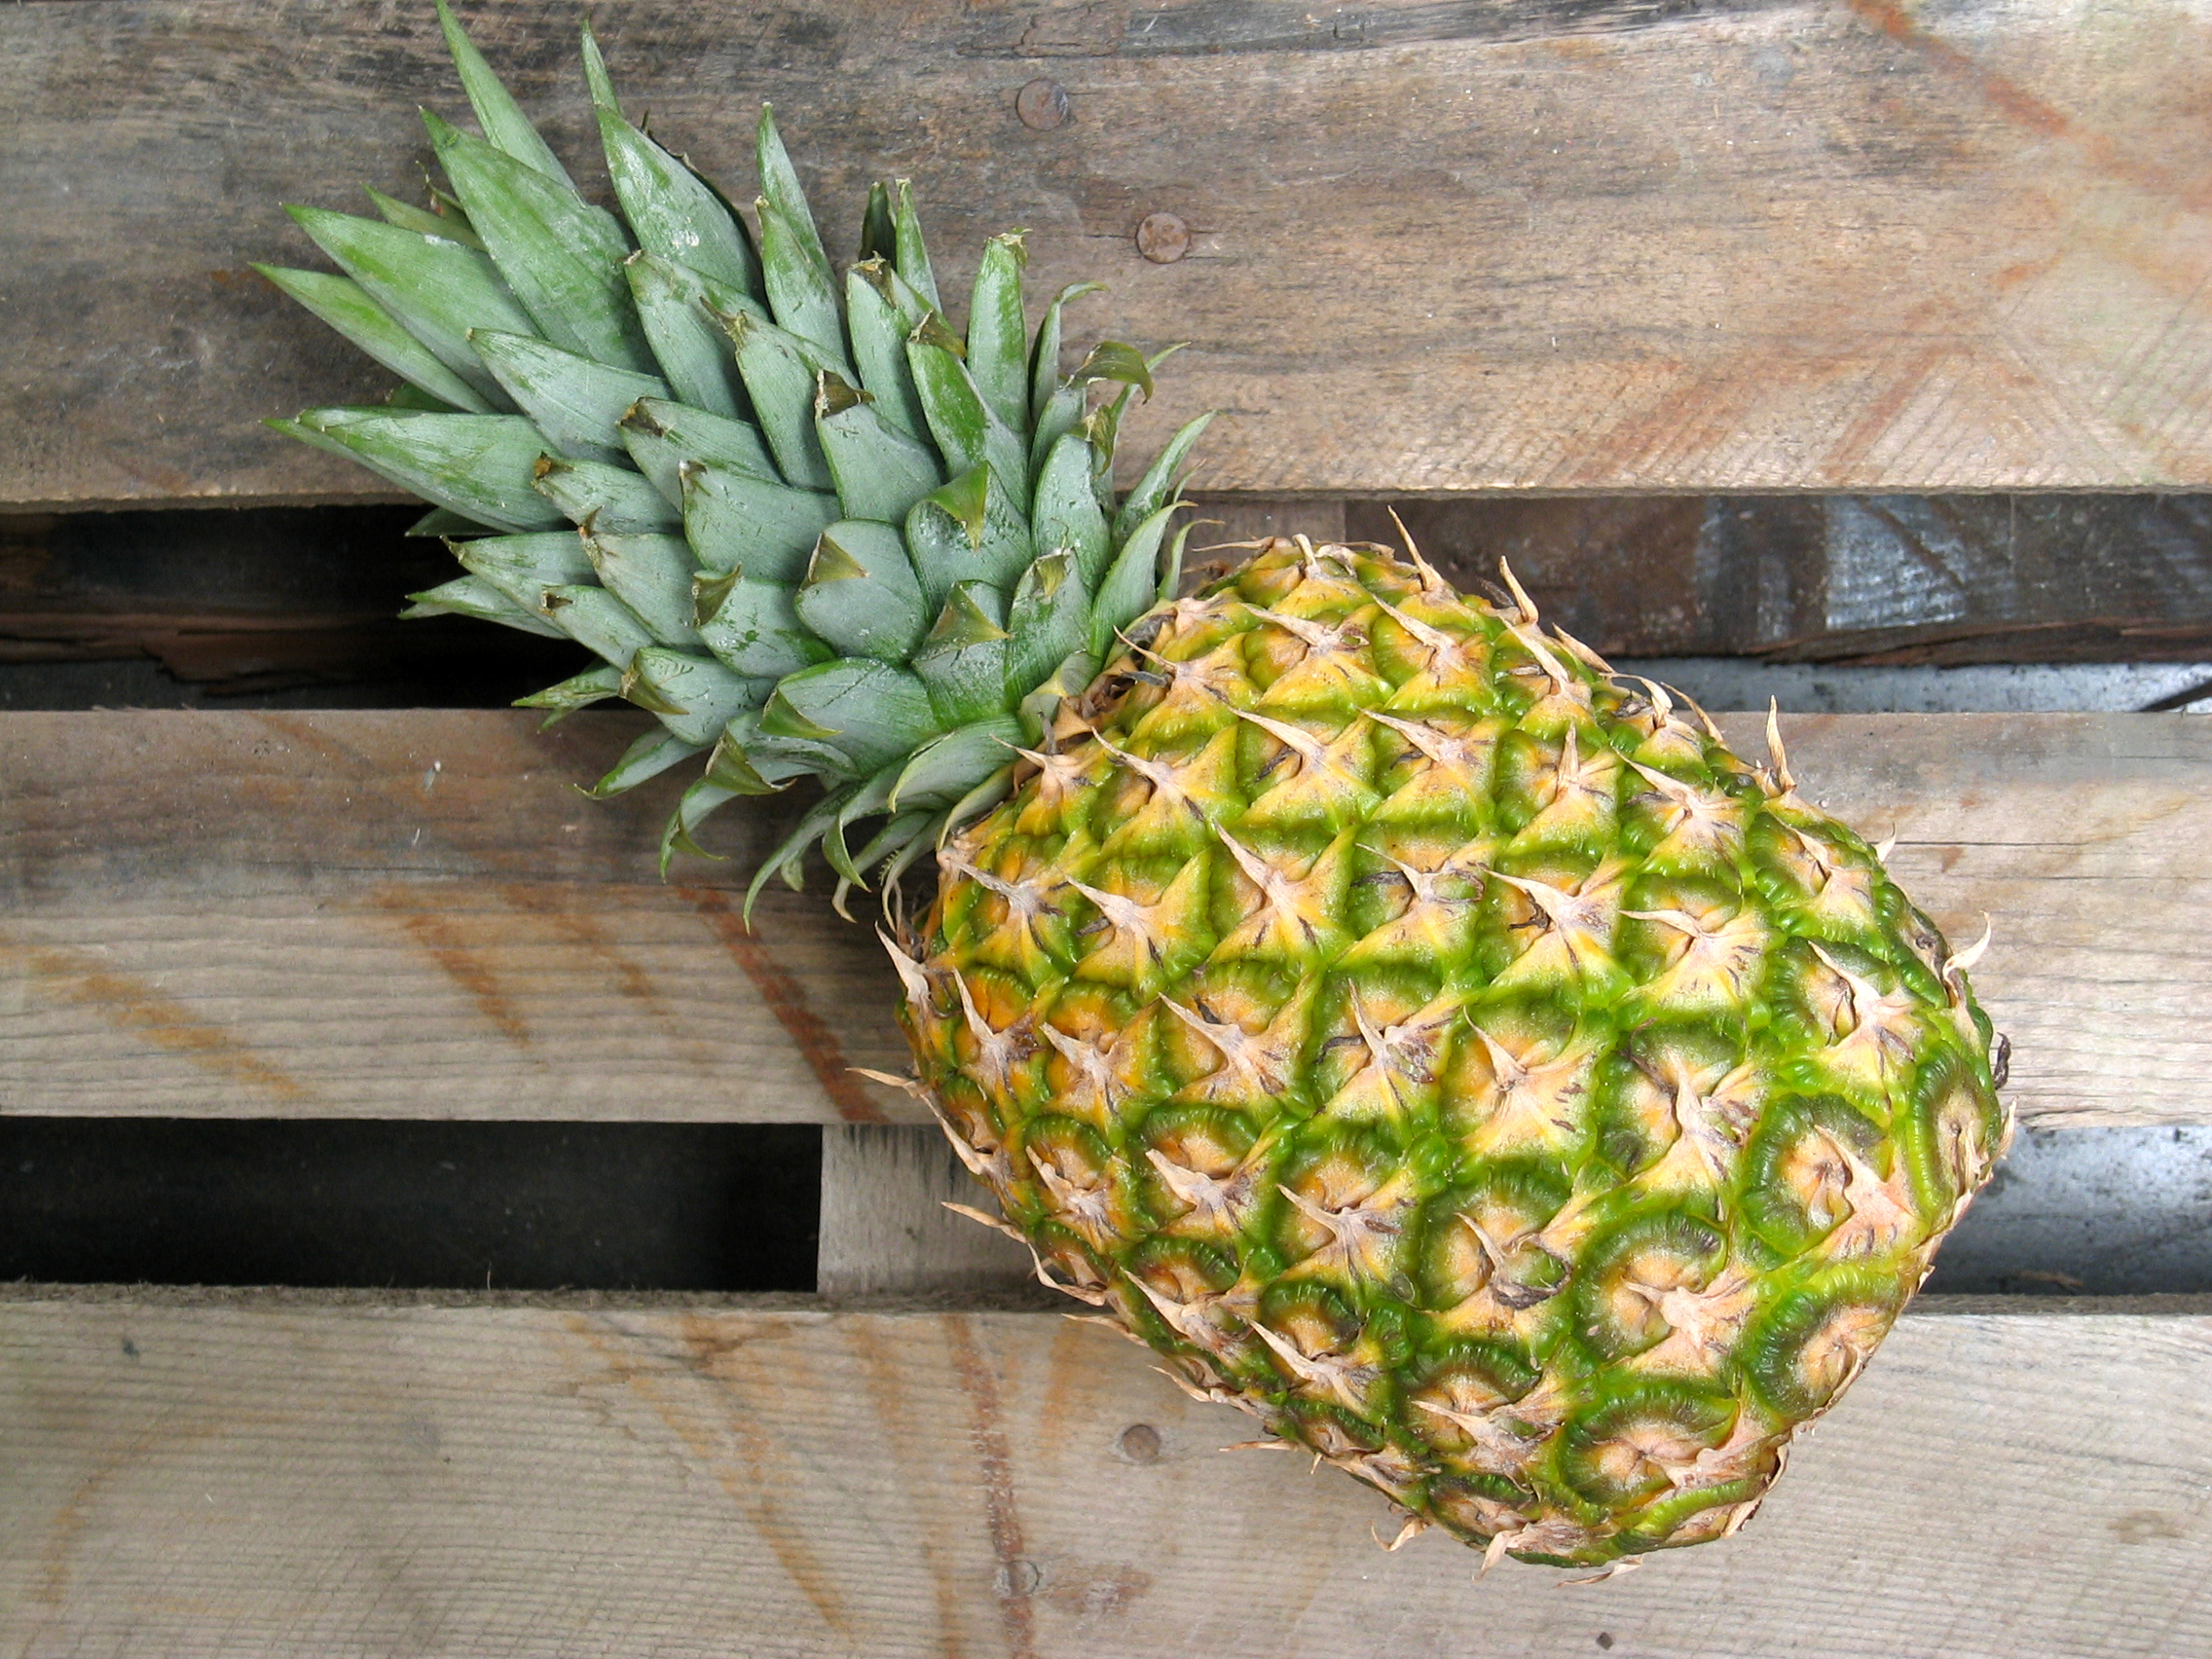
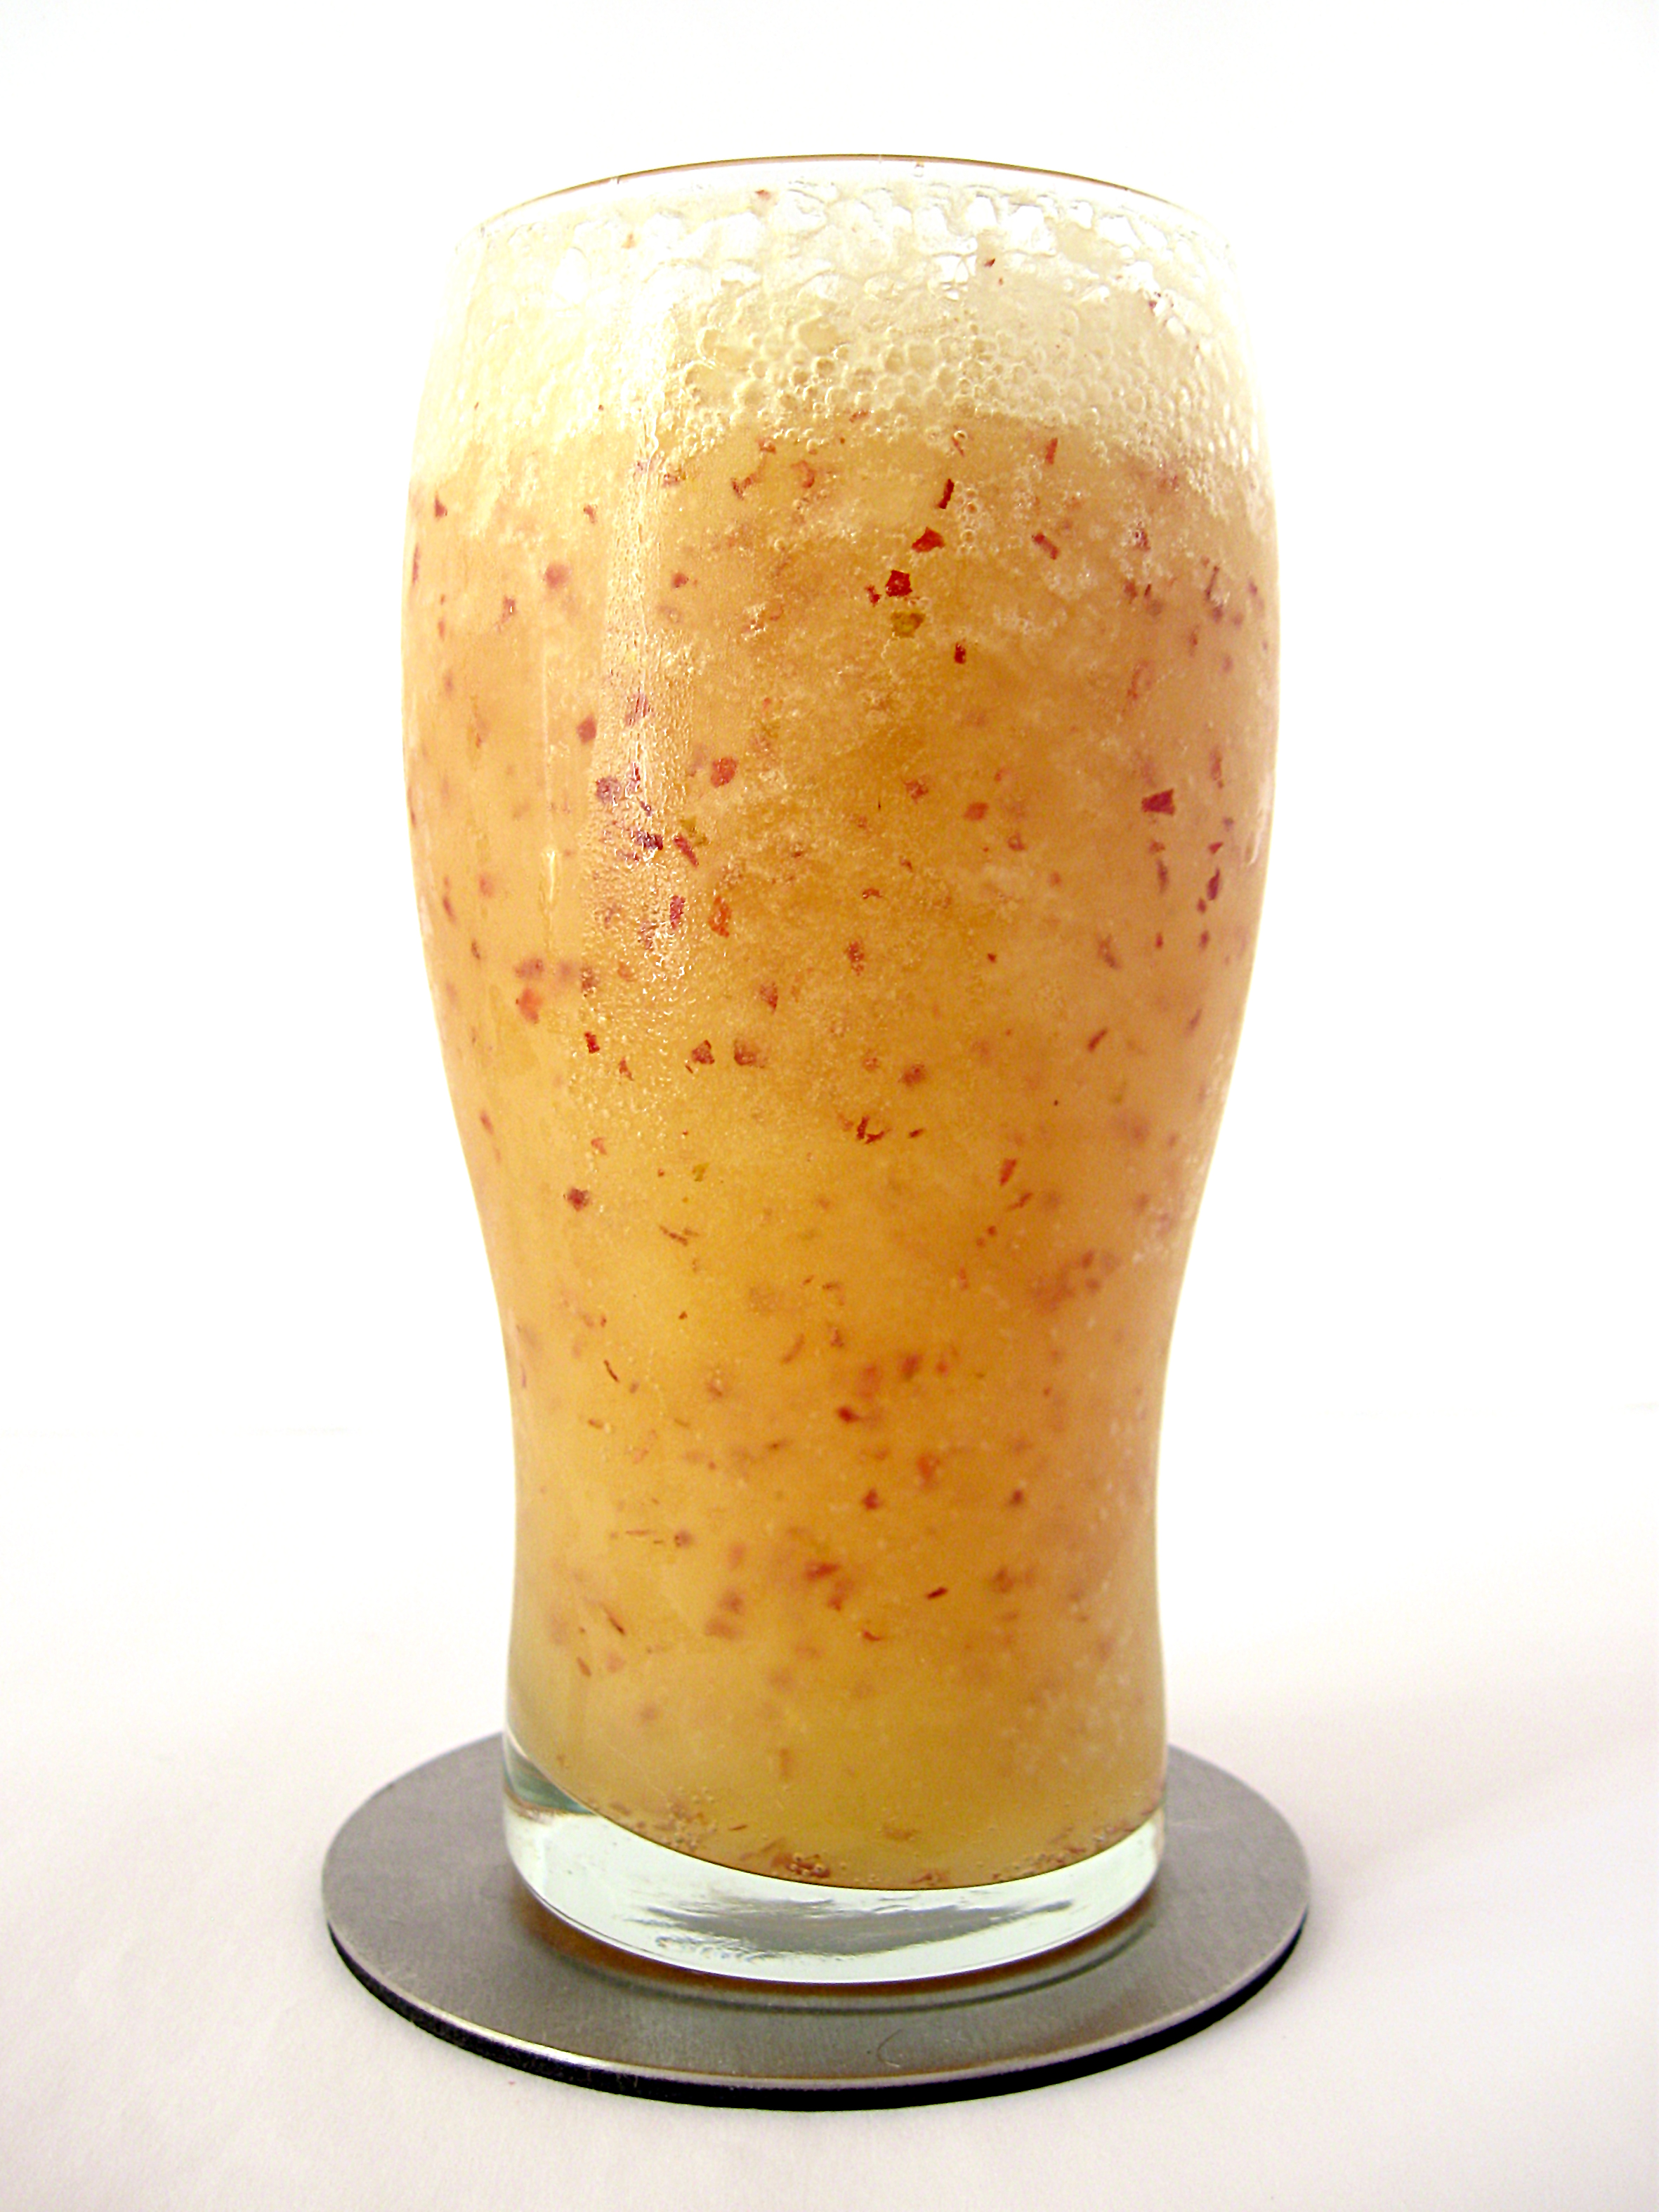
First, download each of the following files below:
Next, start to composite the images into one file so that your final outcome looks like the one above (yours will be a high-resolution version, though). To get an idea of where to start, follow the tips below:
- Start by dragging files into the “smoothie.jpg” file. This is important because the smoothie is the largest image, and you can scale it down so you don’t have to scale the other images up!
- Notice that the pineapple is horizontally flipped. That is necessary so that its highlights and shadows match the light sourcing for the smoothie. Be sure to do the same!
- Hint: the composite pineapple in the above final image has more contrast than the original pineapple because it was duplicated and a blend mode was applied to it.
- To get the wood in perspective, use the “Perspective” transformation tool on that layer.
- To color the wood, you can apply a hue/saturation adjustment layer.
- So that the sky isn’t so blindingly blue, you can adjust the wood’s saturation layer by selecting the mask thumbnail, going into Channels, making the adjustment layer’s mask visible, and editing the mask with feathered tools. Hint: The gradient tool is a GREAT way to make large feathered transitions.
- You can create and cast effective shadows off of objects by duplicating the object’s layer, selecting the new layer object’s pixels, giving the object a generous feather (~30 or so), and filling the selection with black. Then if you use the “Distort” transformation and lower the new shadow layer’s opacity, you can cast a shadow off the object to realistically match the light source.
- You can use whichever typeface you want, but try to keep it bold so that it doesn’t compete with the background’s shapes and colors. To help establish this visually hierarchy, you can also slightly blur the upper part of the sky image.
Quality Expectations:
When you create the high resolution composite, you will be expected to create selections and masks that will look clean when blown up to 100% on the screen. Be sure not to simply rely on looking at your selections while you are zoomed out to 50%, 33%, or 16% (standard PS zoom reductions). To get a sense of the quality I want you to aim for, take a look at some of the 100% zoomed-in screen shots below.


Turning It In:
To turn in this assignment, go to “Turn In Assignments > Turn In Exercise-2 Here” from the main BB menu. Check The main BB “Due Dates” schedule to make sure you meet the assignment deadline.